Managing a server can be intimidating — especially if you’re more comfortable with a graphical interface than a terminal. That’s where Cockpit comes in. It’s a web-based server control and management platform developed by Redhat. Today, I’m going to walk you through what Cockpit is, why you should use it, and how to set it up on your server.
What is Cockpit?
Cockpit is a lightweight, web-based server management tool developed by Red Hat. It’s designed to make it easy for you to monitor and manage your server without relying entirely on the command line. However, if you still want command line access, the web interface actually still has a terminal feature where you can easily login and execute commands on your server.
At the moment, you can use Cockpit to:
- Monitor system performance: This includes: CPU, memory, disk usage, and running services.
- Manage storage: Handle disks, partitions, and file systems.
- Configure networking: Set up network interfaces and connections.
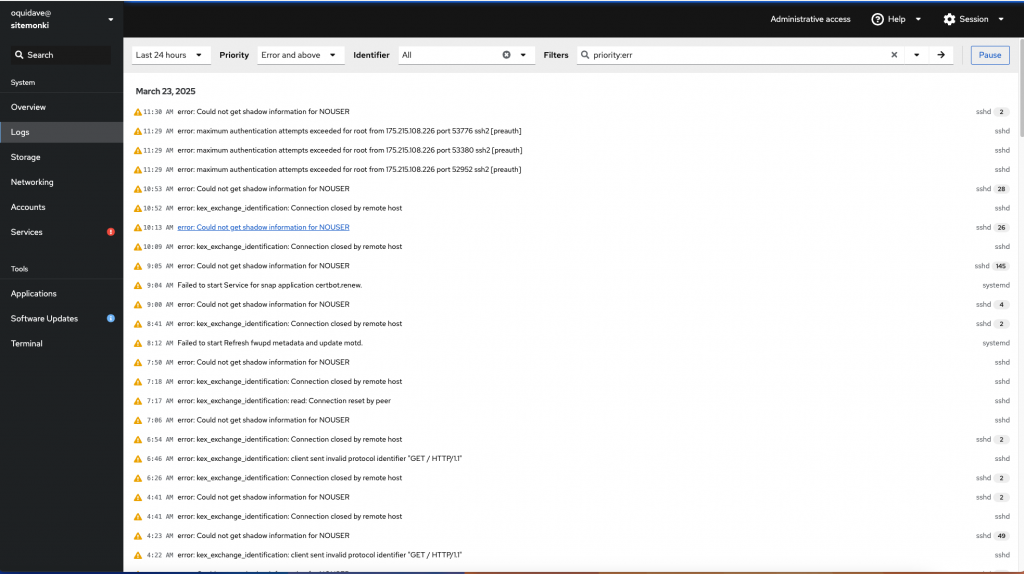
- View logs: Quickly access and filter system logs.
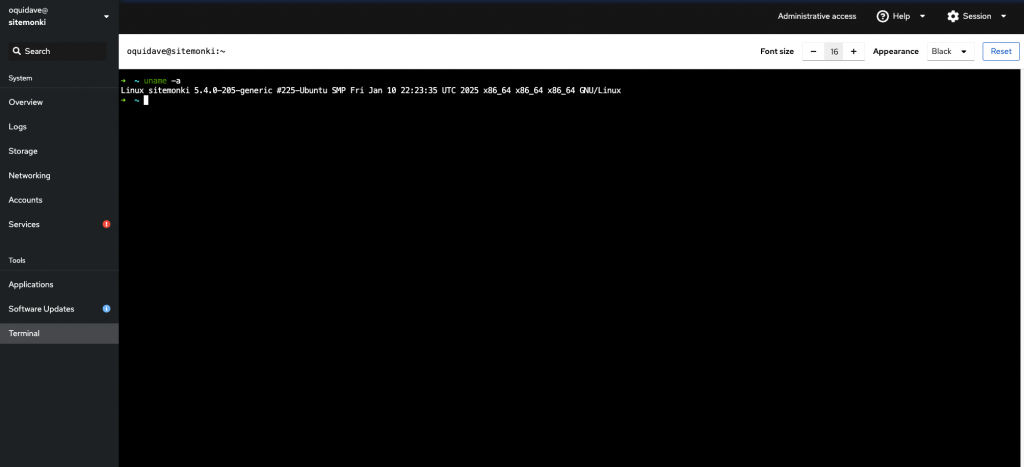
- Run terminal commands: It even comes with a built-in terminal for when you need direct command-line access.
Additional, Cockpit has a clean, intuitive interface that’s easy to use and navigate.
How to Install Cockpit
Cockpit support several Linux distros including Fedora, CentOS, Redhat, Ubuntu, Debian, Opensuse and more. Almost all my server setups are based on Ubuntu, so I will use Ubuntu for this guide, however, you can follow the installation guide for various flavors here.
- Update your system:
sudo apt update && sudo apt upgrade -y - Install Cockpit:
sudo apt install -t ${VERSION_CODENAME}-backports cockpit - Allow Cockpit through your firewall (if applicable):
sudo ufw allow 9090 - Access Cockpit’s web interface: Open your browser and head to:
http://<your-server-ip>:9090 - Log in with your server’s credentials that is username and password which are the same as your SSH login.
By default, Cockpit runs on port 9090. So if you wish to run it on a different port, then you should place the following content in the /etc/systemd/system/cockpit.socket.d/listen.conf file. Create the file and directories in that path which not already exist. The ListenStream option specifies the desired address and TCP port.
[Socket]
ListenStream=
ListenStream=7777
ListenStream=192.168.1.1:443
FreeBind=yes
Change the port to something that’s not being used. you can also bind Cockpit to specific IP address if your server has multiple interfaces, but this isn’t necessary.
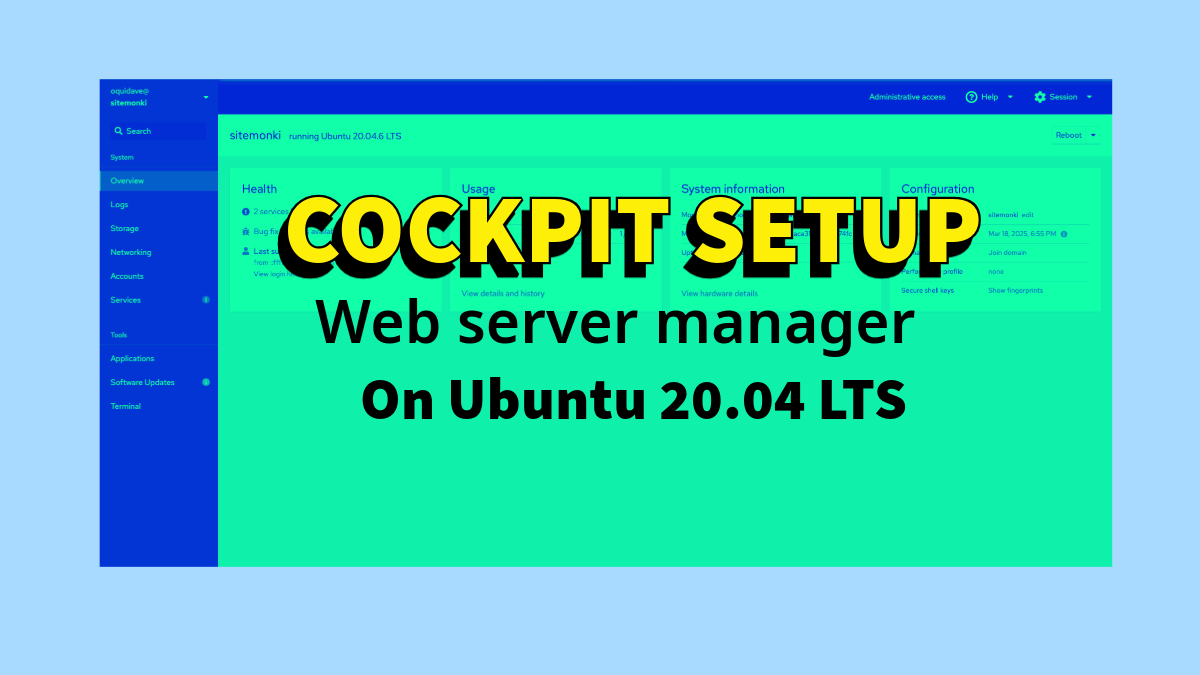
Exploring Cockpit’s Interface
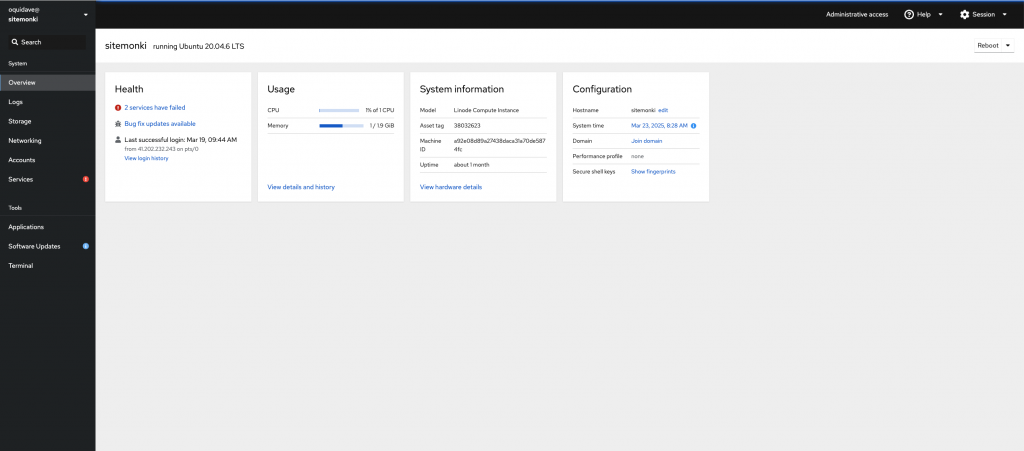
Once you’re in, you’ll see Cockpit’s clean and organized dashboard. Let’s break down its key sections:
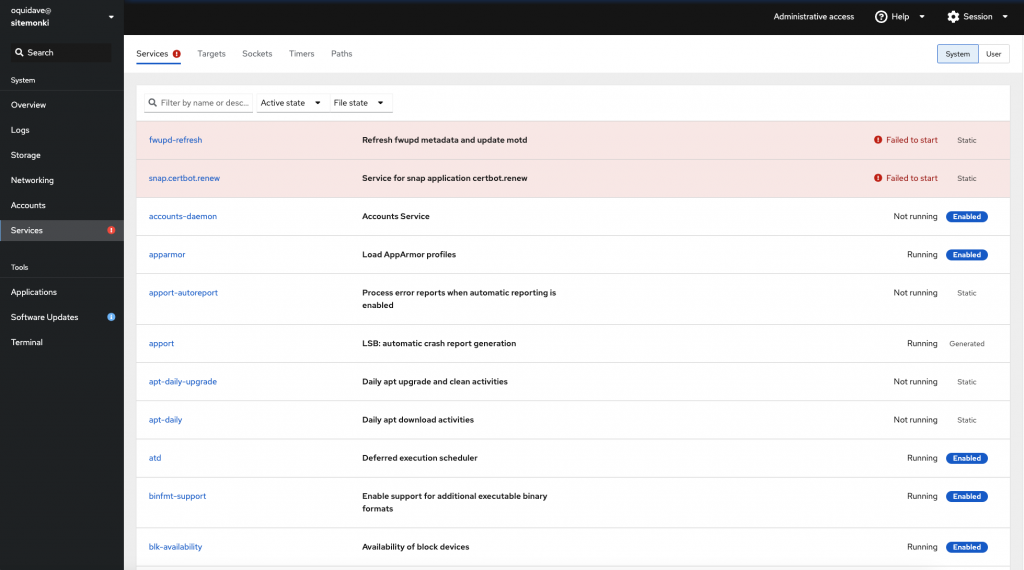
- System Overview: Get a quick summary of CPU, memory, and disk usage, plus uptime and running services.
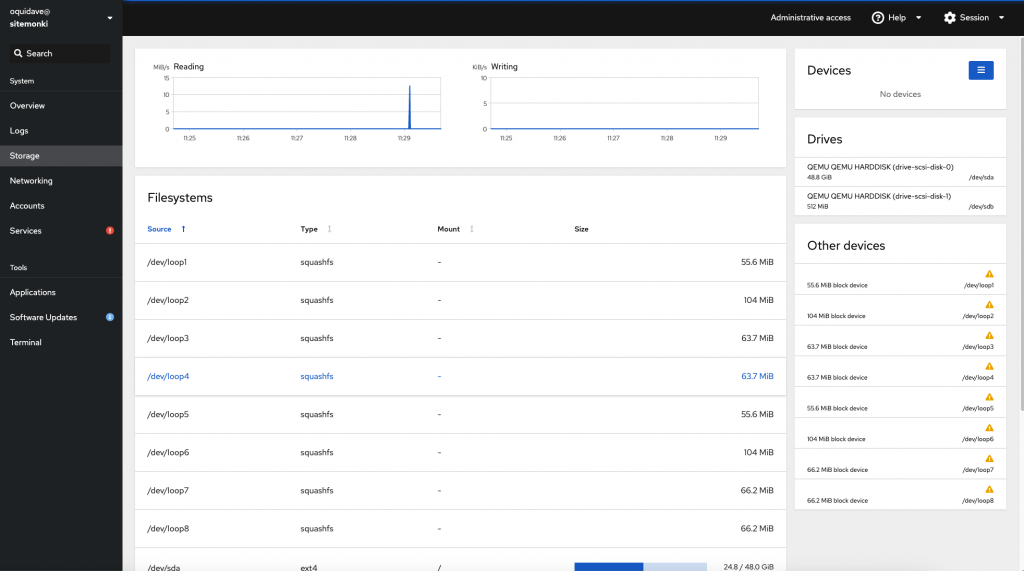
- Storage: Easily manage disks, partitions, and mount points.
- Networking: Configure network interfaces, check traffic, and manage firewall settings.
- Logs: Access system logs and filter by service or severity to quickly spot issues.
- Terminal: For those times you need direct command-line control without switching to SSH.
The layout is straightforward, and the interface responds quickly — even on slower machines.
Why Use Cockpit?
Here’s why Cockpit is worth installing:
- Beginner-friendly: Perfect if you’re new to server management.
- Powerful features: Handles system monitoring, networking, storage, logs, and even user accounts.
- Built-in terminal: No need to juggle between SSH and web interfaces.
- Lightweight: Won’t hog system resources.
- Open-source: It’s free and actively maintained by Red Hat.
Cockpit is a fantastic tool for simplifying server management. It’s great for managing a single personal server or managing multiple machines. It’s fast, reliable, and easy to use. Plus, it keeps everything in one place — system stats, logs, network settings, and even a terminal.
I have already done a video guide that you can follow step by step incase you get stuck.
So, what are you waiting for? Get Cockpit installed and start managing your servers. In case you need some serious technical support or professional setup, this is what we do at Sitemonki. Simply send me a support request by filling in this form and I will get back to you in 30 minutes — I’m happy to help!